
Planning to Withdraw PF Online? If yes, you’re not alone! Thousands of employees in India tap into their Provident Fund savings every year for emergencies, investments, or after retirement. The good news? You don’t need to stand in long queues anymore. With just a few clicks, you can do it from the comfort of your home. In this guide, we’ll break it down into the simplest 8 steps so that anyone—even without tech skills—can follow.
What is PF (Provident Fund)?
The Provident Fund (PF) is a retirement savings scheme where both you and your employer contribute monthly. Managed by the Employees’ Provident Fund Organisation (EPFO), it ensures you build a financial cushion for the future.
Why People Withdraw PF?
PF withdrawal isn’t just for retirees. Many people use it during unemployment, medical emergencies, buying a home, or funding education. Thanks to digitalisation, the process has become hassle-free.
Benefits of Withdrawing PF Online
Convenience and Speed
No need to visit the EPFO office or submit physical forms. Just log in and submit the claim in a few minutes.
No Physical Paperwork Needed
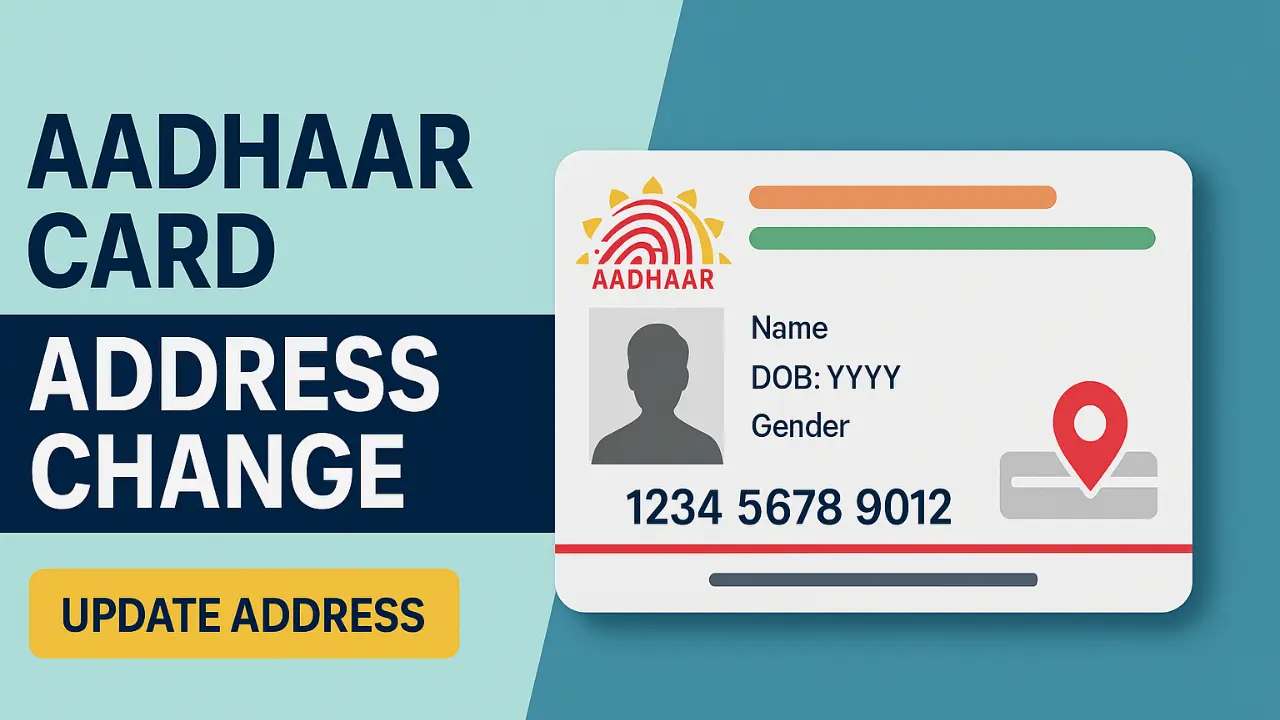
Forget about photocopies and courier services. Your Aadhaar and UAN handle everything digitally.
Prerequisites Before You Withdraw PF Online
Before you jump into the process, make sure you’ve got these essentials ready:
UAN (Universal Account Number)
This is your PF identity. If you don’t have it, ask your HR department or visit https://unifiedportal-mem.epfindia.gov.in
Aadhaar Linked with UAN
Your Aadhaar must be verified and linked to UAN for e-KYC authentication.
Bank Account and PAN Linked
Make sure your bank account (with IFSC code) and PAN are also updated on the portal.
The Simplest 8-Step Guide to Withdraw PF Online
Here’s the step-by-step guide you’ve been waiting for:
Step 1 – Visit the EPFO Portal
Go to the official EPFO Unified Member Portal: https://unifiedportal-mem.epfindia.gov.in
Step 2 – Log in Using UAN and Password
Enter your UAN, password, and the CAPTCHA code. Then click “Sign In.”
Step 3 – Verify KYC Details
Make sure your KYC—like Aadhaar, PAN, and bank details—are verified. If not, get it done before proceeding.
Step 4 – Navigate to ‘Online Services’
On the top menu, click ‘Online Services’ and then select ‘Claim (Form-31, 19, 10C).’
Step 5 – Select ‘Claim (Form-31, 19, 10C)’
This form lets you apply for different types of withdrawals like full settlement, partial, or pension withdrawal.
Step 6 – Fill in the Claim Form
The form will auto-fill most details. Just choose the type of withdrawal and reason. For example, select “Full PF Settlement” if you’re unemployed.
Step 7 – Authenticate With OTP
You’ll receive an OTP on your Aadhaar-linked mobile number. Enter it to verify.
Step 8 – Submit and Track Status
Click “Submit.” A claim reference number will be generated. You can track it from the same portal.
Common Reasons for PF Withdrawal
Here’s why people usually withdraw their PF:
- Unemployment: After 2 months of no job
- Marriage or Education: You can withdraw partially
- Medical Emergency: Covers hospital bills
- Retirement: For full and final settlement
Time Taken for Online PF Withdrawal
Usually, it takes 7 to 10 working days for the amount to be credited to your bank account. In some cases, it’s faster if your KYC is perfectly updated.
Tax Implications of PF Withdrawal
Withdrawals before completing 5 years of service are taxable. You might also face TDS (Tax Deducted at Source). However, if the withdrawal is after 5 years, it’s usually tax-free.
Common Mistakes to Avoid
- Not linking Aadhaar to UAN
- Providing wrong bank details
- Skipping PAN updates
- Trying to claim without completing 2 months of unemployment (in case of full withdrawal)
What to Do if Your PF Claim is Rejected?
Don’t panic. Here’s what you can do:
- Log in to the EPFO portal
- Check the “Reason for Rejection”
- Fix the issue (e.g., update bank/KYC info)
- Reapply with correct information
Table: Required Documents for Online PF Withdrawal
| Document Type | Mandatory | Linked to Portal |
|---|---|---|
| Aadhaar Card | Yes | Must be linked |
| PAN Card | Yes (if withdrawing before 5 years) | Must be updated |
| Bank Account (IFSC) | Yes | Must match UAN |
| UAN | Yes | Login Required |
| Mobile Number (linked with Aadhaar) | Yes | Needed for OTP |
Key Highlights to Remember
- Use the official EPFO site only.
- Keep Aadhaar and PAN updated.
- Make sure your UAN is active.
- Track your claim status regularly.
- Avoid third-party agents or brokers.
Conclusion
Withdrawing PF online is no longer a headache. Just make sure your KYC is updated and follow these 8 simple steps to get your money hassle-free. Whether it’s for an emergency or a well-deserved retirement, your money is just a few clicks away. So go ahead, take charge of your funds, and make your financial life a little easier!
FAQs
Q1. Can I withdraw PF without leaving my job?
Yes, you can make partial withdrawals for specific needs like medical expenses, marriage, or buying a home.
Q2. Is it mandatory to link Aadhaar with UAN for online withdrawal?
Absolutely. Without Aadhaar linking, the claim won’t be processed.
Q3. What if I forget my UAN password?
You can reset it using your registered mobile number on the EPFO login page.
Q4. How much can I withdraw from PF?
Depends on the reason. For example, for medical emergencies, there’s no cap. For education/marriage, you can withdraw up to 50% of your contribution.
Q5. Do I need employer approval to withdraw PF online?
No, if your KYC is verified, you don’t need employer approval for online claims.
Catch today’s top stories and trending updates across News, Entertainment, Business, and Sports. Dive into expert Finance insights, market trends, and smart investment tips in our Finance hub.


Leave a Reply